
Irrigation and Sprinkler Repair: What Homeowners Need
If your sprinkler system suddenly starts leaving brown patches on one side of the lawn and puddles on the other, irrigation and sprinkler repair stops feeling like a small chore and starts feeling...
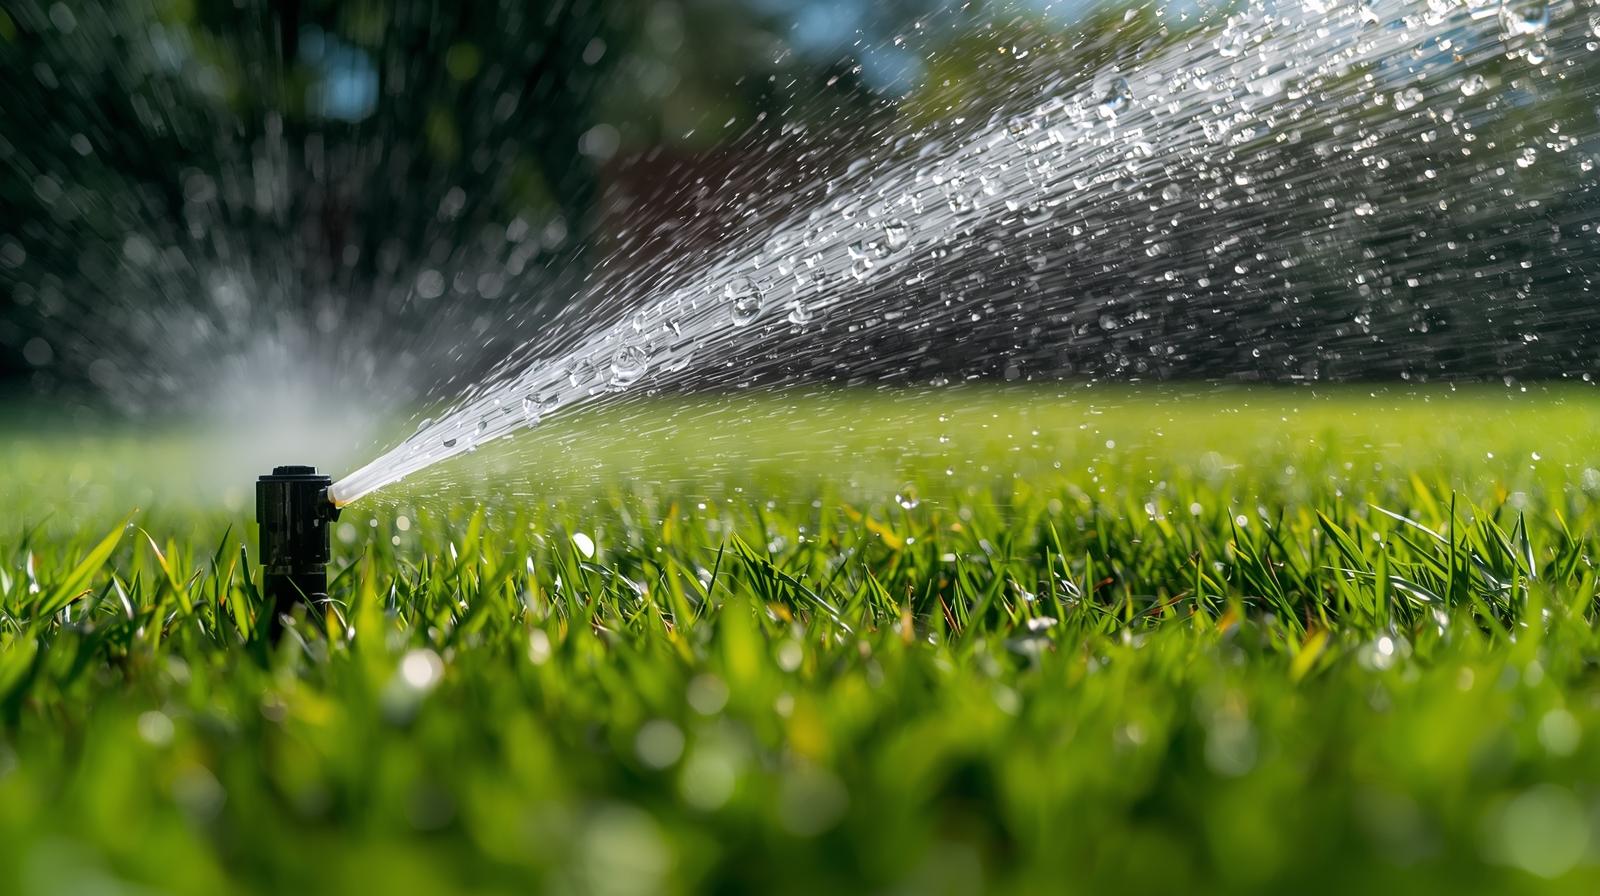
If your sprinkler system suddenly starts leaving brown patches on one side of the lawn and puddles on the other, irrigation and sprinkler repair stops feeling like a small chore and starts feeling urgent. Around Denver, that shift can happen fast, especially when a dry, windy week in July exposes problems that were easy to miss in spring. This guide helps you sort out what is actually wrong, what matters most before paying for repairs, and how to tell the difference between a quick fix and a system that needs more than a patch.
What irrigation and sprinkler repair actually covers
Irrigation and sprinkler repair sounds simple until you realize how many moving parts are involved. It is not just replacing a broken sprinkler head. It also includes fixing leaks in underground lines, getting stuck valves working again, correcting spray patterns, restoring proper pressure, troubleshooting timers and controllers, and making sure each zone turns on and shuts off when it should.
Here’s the thing: most watering problems do not start with a dramatic failure. You usually notice the symptoms first. A strip of grass along the driveway starts to fade. Shrubs near the fence look thirsty even though the lawn seems fine. One zone runs, but the heads barely pop up. Water trickles down the curb after a cycle, and suddenly your system is wasting water while parts of the yard still stay dry.
In practical terms, repair work is about restoring even, useful watering. Your lawn needs overlap, which means one head should reach into the area covered by the next. Your trees and shrubs need water delivered where the roots actually are. Your controller needs to match your yard’s real needs, not just run on the same schedule it had three summers ago. Good repair work solves the visible problem and checks the reason it happened.
That matters in Denver because many yards combine turf, foundation beds, mature trees, sunny exposures, slopes, and dense clay soil. One weak spot in the system can show up in several different ways at once. A clogged nozzle may look like a dry patch. A cracked lateral line may look like poor pressure. A bad valve may make you think the timer is failing. The system only works when all the pieces work together.
Signs your system needs repair
Most sprinkler problems announce themselves early, just not in a way that feels obvious at first. A patchy lawn, a wet corner, or a zone that suddenly behaves differently is your system asking for attention. Catch it early and the repair is usually smaller, faster, and cheaper.
Brown spots, wilting grass, or thirsty shrubs
A dry patch does not always mean your yard needs more watering time. Often, it means the water is not landing where you think it is. That can happen when a nozzle clogs, a head breaks, a spray gets blocked by taller grass or shrub growth, or the pattern no longer overlaps properly with the next head.
One of the most common versions is the lonely brown corner near a sidewalk or driveway. It gets more reflected heat, more wind, and less forgiveness. If the nearest head is tilted, partially clogged, or not rotating correctly, that corner dries out first. The catch is that the problem may not be isolated to that one area. If one head is weak, the rest of the zone may also be underperforming.
Shrubs tell a similar story. If a hedge looks stressed on one end but healthy on the other, uneven distribution is usually the issue. Spray systems are built for broad coverage, not precise root-zone watering, so once landscaping matures, what used to work can become sloppy and inefficient.
Puddles, mushy soil, and water running down the curb
Soggy spots are easier to notice than dry ones, but they are just as easy to misread. If water pools in one place every time the system runs, you could be dealing with a cracked pipe, a fitting leak, a stuck valve, a low spot with poor drainage, or a sprinkler head that is dumping water in the wrong direction.
A head that no longer retracts properly can also cause pooling around the base. So can a nozzle that has popped loose and is shooting a heavy stream instead of a controlled fan. If runoff reaches the sidewalk and starts moving toward the gutter, the system is either applying water too fast, applying it in the wrong place, or failing to shut off cleanly.
That is not a small cosmetic issue. Excess moisture near pavement, edges, and foundations can create bigger trouble over time, especially if the same area stays wet cycle after cycle.
Low pressure, high pressure, and misty spray
Pressure problems confuse a lot of homeowners because the system is still technically running. But running is not the same as watering well.
Low pressure usually shows up as heads that barely rise, weak spray, short throw distance, or rotors that do not complete their turn. In a healthy zone, the spray should look confident and consistent. If it sputters, droops, or leaves obvious dry gaps between heads, pressure may be too low because of a leak, valve restriction, clogged nozzle, or supply problem.
High pressure creates a different issue. Instead of clean streams, you get a fine mist. That mist looks dramatic for about two seconds, then the wind carries it away. On a hot, dry Denver afternoon, that water can disappear before it ever reaches the soil. A head spraying mist instead of droplets is not watering better. It is wasting water in public.
A zone Won’t turn on or Won’t shut off
A zone that refuses to run often points to a controller issue, damaged wiring, a failed solenoid, or a stuck valve. A solenoid is the small electrical part on the valve that tells the valve when to open and close. If it fails, the zone may never activate even if the timer is working.
A zone that will not shut off is even more urgent. That usually means the valve is stuck open, debris is trapped inside it, or the solenoid is malfunctioning. Sometimes the controller keeps sending the signal, but often the mechanical valve itself is the problem.
Either way, never ignore a zone that keeps running. Continuous flow can flood part of the yard, waste a surprising amount of water, and turn a moderate repair into a bigger one fast.
The most common irrigation and sprinkler repairs
Once you know the symptoms, the actual repair categories start to make more sense. Most irrigation work falls into a few familiar buckets.
Sprinkler head repair and replacement
Sprinkler heads take abuse. Lawn mowers clip them. Soil settles around them. Kids step on them. Winter movement shifts them. Over time, a head can tilt, sink, crack, clog, or stop popping up fully.
Sometimes the fix is simple. A tilted head may just need to be reset to grade so it sits level with the soil. A clogged nozzle may need cleaning or replacement. A spray body that leaks around the stem often needs a new internal seal or a full body swap.
And honestly, swapping a damaged head is often the smarter move than trying to nurse along a worn-out part. If the body is cracked or the riser is compromised, replacement is cleaner and usually more reliable than patching.
Pipe leak repair
Underground leaks are common because irrigation lines live in a rough environment. Freeze damage can crack pipe. Tree roots can press against fittings or shift the line enough to stress a joint. Shovels, edging, and settling soil can also do damage.
You usually do not see the pipe itself. You see the clues. Soft soil that never seems to dry. A zone that has lost pressure. Grass growing faster in one narrow strip. Water bubbling near a sidewalk or driveway edge. An unexplained jump in water use.
Pipe repair usually involves isolating the leak, digging to expose the damaged section, cutting it out, and installing new pipe and fittings. The depth, soil condition, and location of the leak do a lot to determine how involved the repair becomes.
Valve and solenoid repair
Valves are the traffic cops of your irrigation system. Each valve controls whether water flows to a specific zone. The solenoid is the small electrical piece that receives the signal from the controller and triggers the valve to open or close.
When a valve or solenoid starts failing, the symptoms can look random. A zone may hum but not turn on. It may run weakly. It may stay on after the controller says stop. It may work manually at the valve but not from the timer, or the opposite.
Repair can involve cleaning debris out of the valve, rebuilding internal parts, replacing the solenoid, checking wire connections, or replacing the whole valve if the body is damaged or too worn. On older systems, a sticky valve often signals more age-related problems nearby.
Controller and timer troubleshooting
Your controller is the scheduling brain of the system. If the brain is confused, the yard pays for it.
A timer problem might come from bad programming, a dead backup battery, loose wiring, power interruptions, surge damage, or age. Sometimes the schedule drifts after a storm or outage and nobody notices until one zone starts running at noon instead of dawn. Sometimes a controller appears fine but fails to send a signal consistently.
Troubleshooting usually starts with the basics: date, time, start times, run times, zone assignment, and seasonal settings. If the programming checks out, the issue may be electrical. That can mean bad station wiring, a blown fuse, a damaged terminal, or a controller that has simply reached the end of its useful life.
Nozzle, rotor, and spray pattern adjustment
Not every repair involves broken parts. A lot of wasted water comes from nozzles and rotors that are technically functioning but not aimed or adjusted properly.
Nozzles can clog or wear down. Rotors can stick, skip part of the arc, or throw too short. Spray heads can aim half their water onto concrete. Sometimes one simple adjustment fixes what looked like a bigger watering problem. A nozzle change can improve matched precipitation, which is just a plain-English way of saying each head in the zone puts out water at a compatible rate.
That matters more than it sounds. If one head dumps water faster than the next, some areas flood while others stay dry. A careful pattern adjustment can solve both problems at once.
Why denver yards put extra stress on irrigation systems
Denver is not gentle on irrigation. Your system has to deal with winter freezes, spring startup surprises, hot dry spells, wind, elevation, variable soils, and landscaping that changes over time. Repairs here often reflect those conditions more than simple wear and tear.
Freeze-thaw cycles and winter damage
Water left in irrigation lines during freezing weather expands. When that happens inside pipes, fittings, valves, or backflow parts, something has to give. Sometimes the damage is obvious, like a split fitting. Sometimes it stays hidden until spring startup pressurizes the system again.
That is why a system can seem fine at shutdown and then suddenly reveal leaks in April. A cracked lateral line, a damaged valve body, or a compromised backflow assembly may not show itself until water starts moving under pressure again.
If your system was not winterized properly, spring repairs tend to stack up. One leak turns into three, and one weak zone leads to a valve issue you did not know existed.
Clay soil, slopes, and runoff problems
Many Denver-area yards have dense clay soil. Clay holds water, but it absorbs slowly. If your system applies water faster than the soil can take it in, the extra runs off instead of soaking down.
On slopes, that gets worse. Water starts moving downhill, collecting at the bottom while the top dries out. You end up with soggy low areas and thirsty high spots from the same cycle.
This is where repairs and settings overlap. A head that sprays too much, a nozzle with the wrong output, or a zone schedule without cycle-and-soak timing can all create runoff. Cycle-and-soak means breaking watering into shorter rounds with soak time in between so the soil can absorb it. In Denver, that is often the difference between useful irrigation and water sliding into the street.
Sun, wind, and fast-drying conditions
A sprinkler system can look busy and still fail in hot, dry, windy weather. That is one of the more frustrating truths of summer irrigation.
Low humidity and intense sun dry turf quickly, especially near south-facing edges, sidewalks, and driveways. Wind makes spray drift worse. High-pressure mist loses water before it lands. Shrub beds near reflective surfaces dry faster than expected. During a calm spring morning, a weak zone may look acceptable. By late July, the same zone is suddenly not enough.
That is why midseason adjustments matter. Conditions change, and small inefficiencies become obvious fast in Denver’s summer pattern.
Trees, roots, and mature landscaping
Older landscapes tend to develop irrigation problems simply because the yard is no longer the same yard the system was installed to serve. Tree roots can push on pipes, shift heads, and crowd valve boxes. Expanding shrubs can block spray. Mature trees also change the light, shade, and root competition around surrounding turf and beds.
Water demand changes too. A planting bed that once held small shrubs may now need slower, deeper root-zone watering instead of occasional spray from a nearby lawn zone. If your system has never been adjusted to match that growth, repair alone may not fully solve the stress you are seeing in plants.
How to tell if It’s a quick fix or a bigger repair
A lot of frustration comes from not knowing whether you are looking at a fifteen-minute correction or a deeper system problem. A few clues can help you sort that out before you spend money in the wrong place.
Problems you can often spot right away
Some issues are visible the moment you run the zone. A head is snapped off. One nozzle is shooting sideways. A spray body is sunk below grade and blocked by grass. The timer is set to the wrong start time after a power outage. Those are straightforward, and the cause matches the symptom.
If the problem is isolated and obvious, the repair often is too. A clogged nozzle, a head that needs straightening, or a simple schedule mistake usually does not point to hidden system failure. It is still worth checking the rest of the zone, but the odds are better that you are dealing with a quick fix.
Clues that point to hidden underground issues
The bigger problems are the ones you feel before you see them. Pressure drops across an entire zone. A wet patch appears away from any head. Water bubbles beside hardscape. One area of turf grows unnaturally fast while nearby grass struggles. Your water use climbs and nothing in your programming has changed.
Those signs often point underground. A cracked line, failing fitting, partial blockage, or valve issue may be affecting the whole zone. Surface symptoms can be misleading, like smoke from a kitchen that started with a toaster but actually came from the outlet.
When multiple symptoms mean the system needs a full check
One dry patch can be a nozzle. Dry patches plus weak spray plus one dead zone usually mean something more. When multiple symptoms show up at the same time, a one-part swap becomes a gamble.
That is the moment to think in terms of system diagnosis, not single-component replacement. A full check should include each zone, pressure behavior, controller function, visible leaks, spray pattern, and shutdown response. Otherwise, you risk fixing the loudest symptom while missing the problem driving it.
Key things to check before paying for repair
This is the heart of a smart buying decision. Not every repair proposal solves the right problem, and not every lower quote saves money.
System age and overall condition
Age changes the math. A newer system with one broken head is usually an easy call. An older system with repeated leaks, brittle fittings, outdated controller hardware, and failing valves is different.
The point is not that old systems should automatically be replaced. The point is that repair value matters more than repair price. If you are paying for the third leak in the same season and two more zones are showing weak performance, that tells you something. A low invoice on one visit can still be part of an expensive pattern.
Look at the condition of the whole system, not just the broken piece in front of you.
Coverage and zone design
A repair only fixes the mechanical fault. It does not magically fix poor design. If heads are spaced badly, if the spray pattern misses corners, or if one zone mixes sunny turf with thirsty shrubs and shaded foundation plants, the system may have been wasting water from the start.
This matters because a perfect repair on a poorly designed zone still leaves you with uneven results. You may stop the leak and still end up overwatering one area to save another. Good repair decisions consider whether the zone actually delivers water evenly where it needs to go.
Compatibility of replacement parts
A part can fit and still be wrong. That catches a lot of homeowners.
Matching head type, nozzle output, pressure needs, spacing, and existing components matters. For example, replacing a nozzle with one that throws farther or applies water faster than the rest of the zone can create uneven coverage immediately. Mixing spray heads and rotors in ways the zone was not built for usually leads to dry spots and puddles in the same cycle.
Compatibility is not about brand loyalty. It is about hydraulic logic. The replacement part needs to play nicely with the rest of the system.
Water efficiency and local restrictions
Some repairs are also upgrade opportunities, especially if you want to waste less water without rebuilding the whole yard. Pressure-regulated heads can reduce misting. Smarter controllers can adapt schedules more accurately. Drip conversion can make shrub and flower beds far more efficient than broad spray.
In Denver-area conditions, reducing runoff and overspray is not just a nice bonus. It is often the difference between a system that looks active and a system that actually waters well. If a repair can improve efficiency at the same time, it is worth weighing that value.
Repair or replace? how to make the call
This decision gets easier once you stop thinking in all-or-nothing terms. You are not always choosing between one repair and a total rebuild. Sometimes the right answer is a targeted upgrade or partial replacement.
When repair makes sense
Repair makes sense when the problem is isolated and the rest of the system is fundamentally sound. A few broken heads after winter, one leaking lateral line, a single bad valve, or a controller setting issue usually falls into this category.
Seasonal tune-ups also make sense as repair work. Resetting heads, adjusting arcs, cleaning nozzles, checking zones, and correcting startup damage can restore performance without changing the overall layout. If the zones are designed reasonably well and the system has been reliable, targeted repair is usually the smart move.
When upgrades are the better move
If your controller is outdated, your heads mist badly, your pressure is poorly managed, or your zones have obvious inefficiencies, upgrades can solve recurring frustration more effectively than repeated service calls.
For example, replacing an aging timer with a smarter controller can fix scheduling drift and make seasonal adjustments easier. Upgrading nozzles or adding pressure regulation can improve distribution right away. Separating incompatible plant types into more sensible watering methods, such as drip in beds and spray on turf, can save water and improve plant health at the same time.
An upgrade is worth it when the old setup keeps creating the same problem.
When a section of the system may need rebuilding
Sometimes one area becomes a repeat offender. A tree root zone keeps breaking lines. An old manifold develops one problem after another. A part of the yard was redesigned, but the irrigation never caught up. At that point, patching the same section over and over is usually a bad deal.
Rebuilding a section can mean replacing a manifold, rerouting a damaged run, redesigning a problem bed, or reworking a zone that no longer matches the landscape. It costs more upfront, but in the right situation it finally breaks the cycle of recurring repairs.
Questions to ask before hiring for irrigation and sprinkler repair
You do not need to know every technical detail to ask good questions. You just need to know what separates a surface fix from a useful one.
Will the repair include a full system check?
Ask whether the visit only covers the obvious broken part or also includes testing the zone and checking the broader system. That means pressure behavior, leaks, arc, coverage, valve response, and controller settings.
If the answer is no, understand what that means. A narrow repair can be fine for a known issue, but if you are seeing multiple symptoms, a full check usually gives you a much better outcome.
What parts will be used and why?
It helps to ask what replacement head, nozzle, valve parts, or controller components are being used, and why those make sense for your system. The goal is not to interrogate anyone. The goal is to confirm that the repair is being matched to your current layout, pressure, and watering needs.
A clear explanation is a good sign. “It fits” is not nearly as reassuring as “this matches the output and pattern already used on the zone.”
Is winterization, startup, or seasonal adjustment part of the plan?
In Denver, irrigation decisions should connect to the whole year. Ask whether the plan includes or coordinates with spring startup, fall blowout, or seasonal scheduling adjustments.
A repair done in summer may still fail next spring if the system is not shut down properly in fall. In the same way, startup is the best time to catch freeze damage before hot weather turns it into turf stress.
What kind of estimate and follow-up should you expect?
A good estimate should spell out the scope of work, the likely parts involved, and what happens if a hidden issue appears once the system is pressurized and tested. Itemized pricing helps. Photos can help too, especially for underground leaks or damaged valves.
You want clarity on what is known, what is suspected, and what could change once digging or troubleshooting starts. That avoids frustration on both sides.
Common mistakes homeowners make with sprinkler repairs
Most sprinkler headaches are not caused by bad intentions. They come from fixing the most visible thing first and assuming the rest will sort itself out.
Replacing the wrong part first
A dry area does not always mean the closest head is bad. It might be, but it could also be low pressure from a leak farther back, a valve not opening fully, a clogged nozzle upstream in a rotor train, or a controller issue affecting run time.
Swapping the wrong part is like replacing a lamp bulb when the outlet is dead. It feels proactive, but it does not get you light.
Ignoring small leaks and misaligned heads
A little leak at the base of a head or a small spray onto the sidewalk does not stay little for long. Over time, overspray can create runoff, soggy edges, foundation moisture concerns, algae on hardscape, and weak turf where the water should have gone instead.
And yes, your water bill notices too. Small leaks have a way of becoming expensive simply because they keep happening every cycle.
Programming the timer to compensate for a bad repair
This one is incredibly common. The lawn looks dry, so the easiest move is adding more minutes. But if the real problem is poor coverage, a stuck rotor, or misting from high pressure, extra run time just pours more water into the wrong places.
The result is predictable: one area floods, another still struggles, and the schedule gets longer and longer. More time is a bandage, not a fix.
Forgetting about trees, shrubs, and beds
A lawn may look decent while nearby shrubs quietly decline. That usually happens when spray irrigation is covering the grass acceptably but doing very little for deeper roots or planting beds tucked behind growth.
Trees and shrubs often need different watering methods and different schedules than turf. If repairs only focus on the lawn heads and ignore the rest of the landscape, you can end up with a green front lawn and stressed beds by August.
Repairs for different parts of your landscape
Not every zone in your yard should be judged the same way. Turf, shrubs, flower beds, and trees all behave differently, and the repair priorities should match.
Lawn zones
Lawn zones need even coverage more than anything else. Turf shows inconsistency quickly. You see stripes, dry rings around heads, narrow brown lanes between spray patterns, or soggy patches where one head throws too much.
Head spacing and nozzle choice matter a lot here. If the output across the zone is uneven, the lawn forces you into overwatering one section to save another. A good repair on turf focuses on clean overlap, correct arc, proper height, and matched distribution.
Tree and shrub areas
Trees and shrubs are often where older systems fall behind. What started as open bed space may now be packed with mature roots and blocked spray paths. Lawn heads that once reached a shrub line may now hit foliage and never water the root zone properly.
These areas often benefit from drip lines, bubblers, or other slower root-zone methods. Repairs may involve clearing clogged emitters, fixing broken drip tubing, adjusting placement as plants mature, or separating bed watering from nearby turf habits.
Flower beds and mixed planting zones
Mixed zones are tricky because different plants want different amounts of water, and the watering hardware is often less visible. A clogged drip line can go unnoticed for weeks. Turf sprays can overshoot into flower beds and keep the soil too wet in one spot while another stays dry.
Repairs here should focus on observation, not assumptions. If plants in the same bed are showing opposite stress signals, the distribution method may be the real problem, not the plants themselves.
Seasonal irrigation repair and maintenance
Most irrigation trouble is easier to fix when tied to the season that exposes it. Your system has a yearly rhythm, and repair choices make more sense when you think in that rhythm too.
Spring startup and system inspection
Spring startup is when winter damage finally introduces itself. Turning the system on carefully, checking each zone, watching pressure behavior, and inspecting heads, valves, and visible lines gives you the clearest picture of what made it through the cold and what did not.
This is the best time to catch split fittings, cracked heads, valve issues, and controller problems before the weather turns hot. A careful spring inspection can save you from chasing symptoms later when everything feels more urgent.
Midseason adjustments during peak heat
July tells the truth. Areas that looked fine in May can suddenly reveal weak coverage, blocked spray, misting, runoff, or schedule problems once the sun, wind, and heat all pile on.
A midseason check is often where you notice that one side yard dries too fast, one rotor is hanging up, or a bed near masonry needs a different approach. These are not always emergencies, but they are worth correcting before plant stress becomes visible damage.
Fall shutdown and blowout prep
Fall shutdown is not optional maintenance fluff in a freezing climate. It is the thing that keeps leftover water from expanding inside your system and cracking expensive parts.
Proper blowout and shutdown help protect pipes, fittings, valves, and backflow components. Skipping this step is one of the straightest paths to spring repair calls, especially after a hard cold snap.
Best repair and upgrade choices by use case
The easiest way to make sense of all this is to match the repair approach to the kind of yard problem you actually have.
If you have a few problem spots in an otherwise healthy lawn
Start small and precise. Targeted head repair, nozzle cleanup, arc adjustment, and a quick zone check are usually the right first moves. If the rest of the system performs well, there is no reason to jump straight to major work.
What matters here is confirming the issue is truly isolated. Run the zone, watch coverage, and make sure the dry spot is not the first visible sign of a broader pressure or overlap problem.
If your system is older and needs frequent fixes
Frequent fixes are a pattern, not bad luck. If your system is older and keeps springing new leaks, sticking valves, or timer issues, targeted upgrades often make more sense than endless patching.
A controller upgrade, valve replacement, pressure correction, or partial redesign can reduce repeat service and give you a more stable system. The goal is to stop paying for the same frustration in slightly different forms.
If trees and shrubs are struggling while the lawn looks fine
This often points to the wrong watering method, not just one bad sprinkler head. Lawns do well with broad, even surface coverage. Trees and shrubs usually need slower, deeper watering closer to the root zone.
If the turf looks fine and the woody plants do not, repairs should focus on bed irrigation, blocked spray, drip condition, emitter placement, and whether the schedule fits mature plants at all.
If you want lower water waste without rebuilding everything
You do not need a full redesign to cut waste. Some of the best-value improvements are pressure-regulated heads, better-matched nozzles, a smarter controller, drip in planting beds, and seasonal schedule resets based on actual yard conditions.
These changes do not just save water on paper. They often improve performance at the same time by reducing misting, runoff, and overspray. That is the kind of upgrade that feels good immediately, not just on a utility statement.
A simple next step before you book a repair
Before scheduling irrigation and sprinkler repair, run each zone for a few minutes and take notes. Watch for dry spots, puddles, heads that do not pop up, weak spray, runoff, strange noises, and anything the controller is doing that seems off. If one area near the sidewalk dries out every afternoon while another turns muddy, write that down too.
That five-minute walkthrough is the easiest way to get a faster, more accurate repair visit. It helps you stop guessing, and it helps the repair focus on what your yard is actually doing. Try that first, and you will make every next decision easier.
Disclaimer: This article is for general informational purposes only. It is not professional advice, a quote, or a service agreement. Conditions at your home or property may differ; contact a qualified professional for an on-site evaluation before making repair, safety, or spending decisions.
Need Sprinkler Repair in the Denver Metro?
Leaks, valves, heads, and wiring. Licensed local crews. Free quotes.